-
Macro Extreme (technicals)
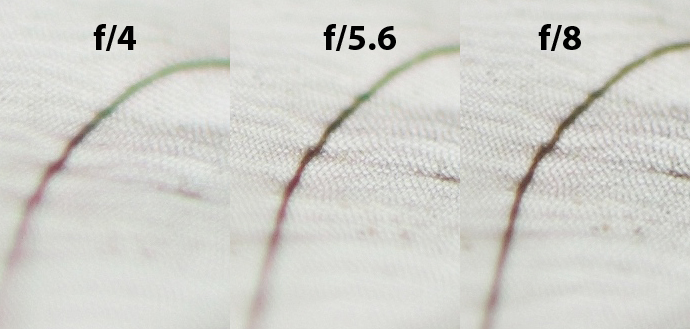
Are you a Hard-Core Photo Nerd? This article is a followup to the Extreme Macro Results post I made. It is only meant for those readers who are very technically oriented.
-
High-Magnification Macro: Results
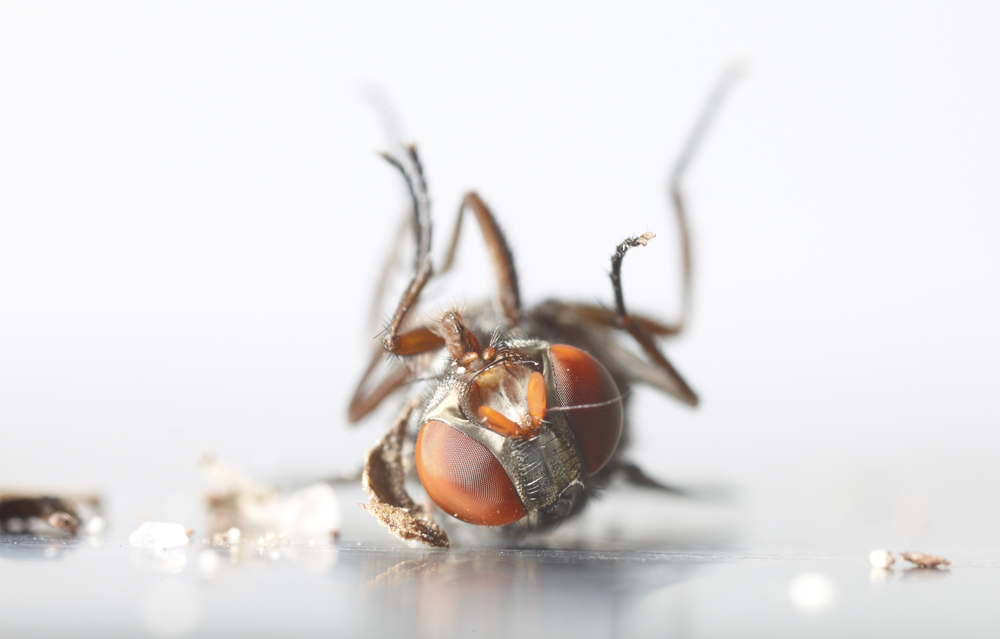
This post is the culmination of six months worth of research, experimentation, and refinement into high-magnification macro photography. Taking pictures of extremely small objects with extremely high resolution systems is an incredibly technical endeavor with great challenges and even greater rewards. I’ll be posting an article for my readers interested in the nitty-gritty of the…
-
GetDPI AZ Workshop: Pinhole Landscapes
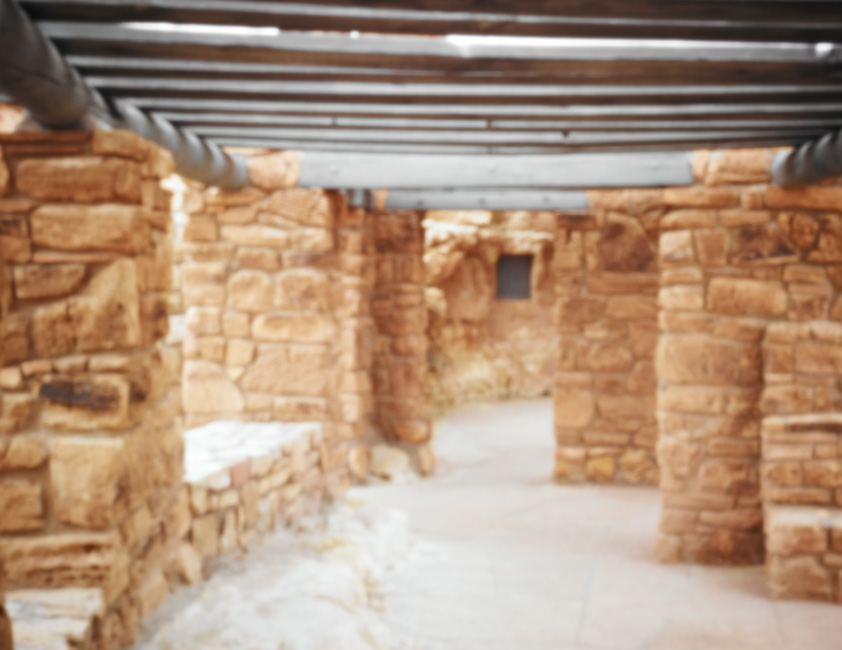
Taking pictures without a lens.
-
Portrait Color Styles
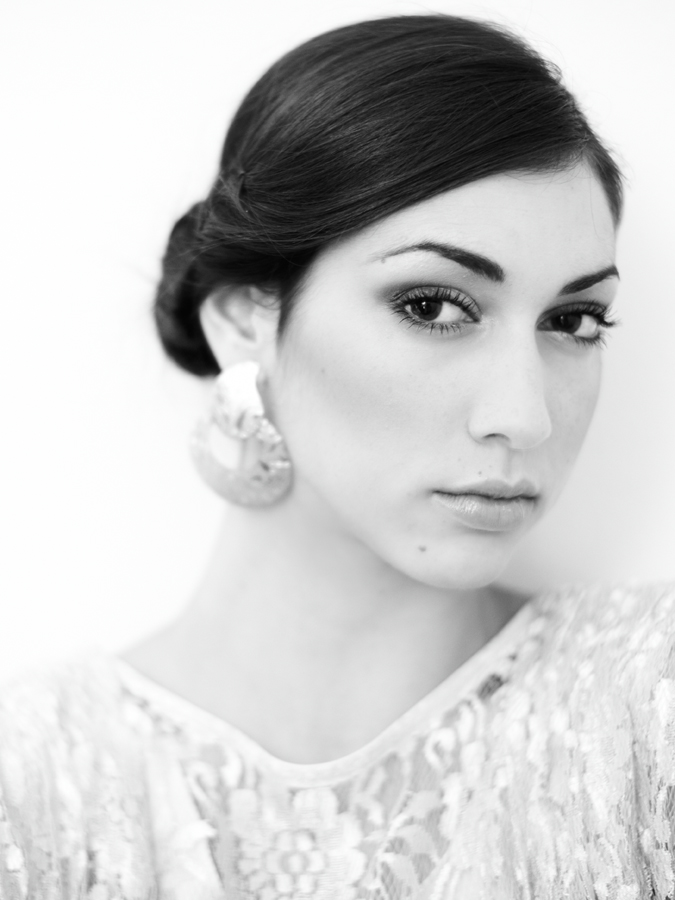
Back when I worked primarily with film and a darkroom the options to style a finished image were relatively limited. Color palets were mostly a function of film type, the contrast and natural coloring a function of the paper, and toning could only be accomplished by chemical agents like Selenium, red wine, bleaching, and adjustments to…
-
The Making of a Cyanotype
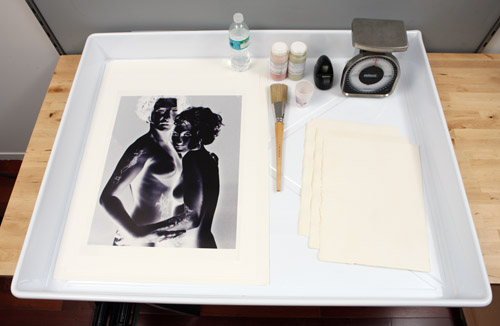
One of my passions is creating traditional-chemical-based cyanotypes. This blue-toned printing process is a hands on art form in which an image is permanently printed on normal cotton rag fine art paper. Having grown up shooting film, processing the film myself, and printing the film in a traditional darkroom I love the ability to get…
-
Abandoned House Shoot
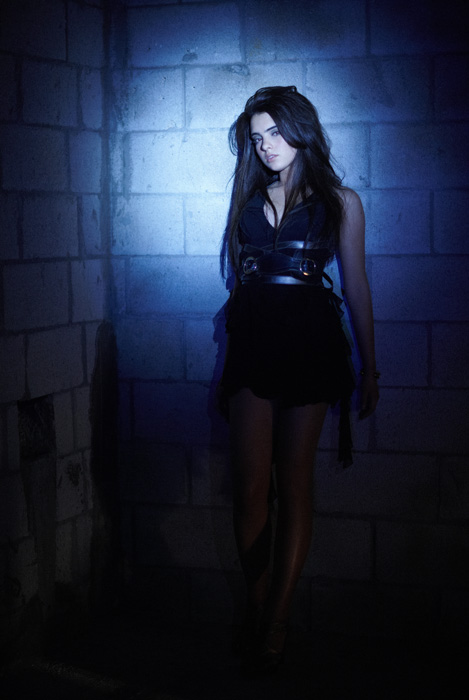
An abandoned castle in Miami Beach. A wonderful but erie place to shoot.
-
32 Megapixel Pinholes
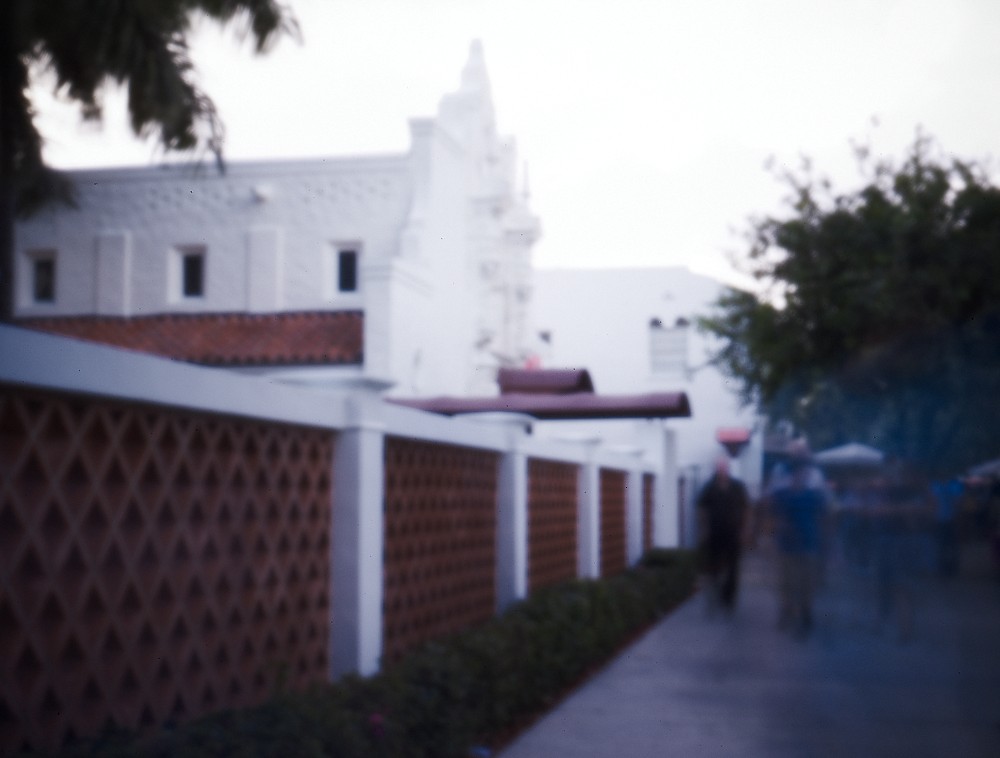
Pinhole photography is one of the oldest and truest forms of photography. Rather than a lens, a hole is used to project the image onto a light sensitive medium (film or digital). It’s really that simple. More often than not when you see work from a pinhole image shown in a gallery it is from…
-
Botanical Gardens, or Jurassic Park?
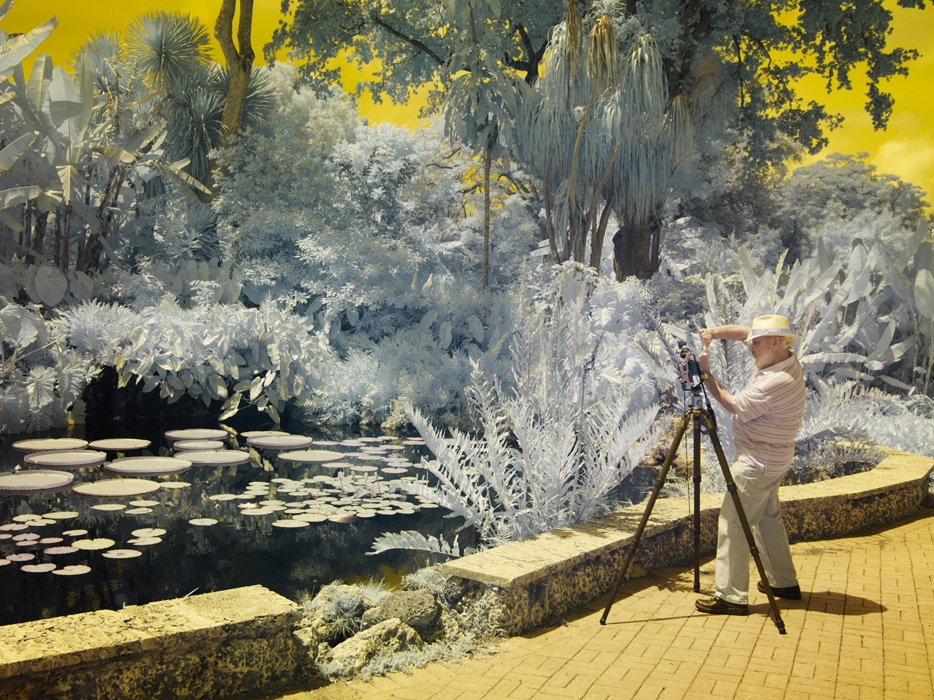
My friend Stu Baserman and I went to the Botanical Gardens together. We were both shooting pretty unusual photo equipment. Pictured below is Stu with his Cambo Wide DS Technical Body and Phase One P45+ Digital Back with Rodenstock 35mm Large Format lens. I was shooting a similar Horseman SWD Pro II with a Infrared-Modified…
-
iSilhouettes in Photoshop

Creating iPodesque Silhouettes 1) Shoot a silhouette. Raw file flexibility will make this process much faster, but even a point and shoot camera will do. Do NOT rim lite the subject as you want the harsh edges from a total silhouette. 2) Add an S-Curve to increase contrast. This makes it easier to edit. 3)…
-
The Virtual Future of Still Images
Moving Past Analog Analogies The first wave of development in digital photography was a struggle to replace film in quality and use. Now that it has, a new wave of development will push photography into new places and redefine still image creation. Digital Photography is about twenty years old; it’s acne is gone and its…